File management tools
How to use file management tools
In Easy Redmine, you can add attachments (files) to each task. Moreover, you can add documents to any project. In both the cases, the added files can be managed the same way using 5 simple tools. First, let's see how to add files to tasks and projects.
Attachments on tasks
You can add an attachment while updating a task.
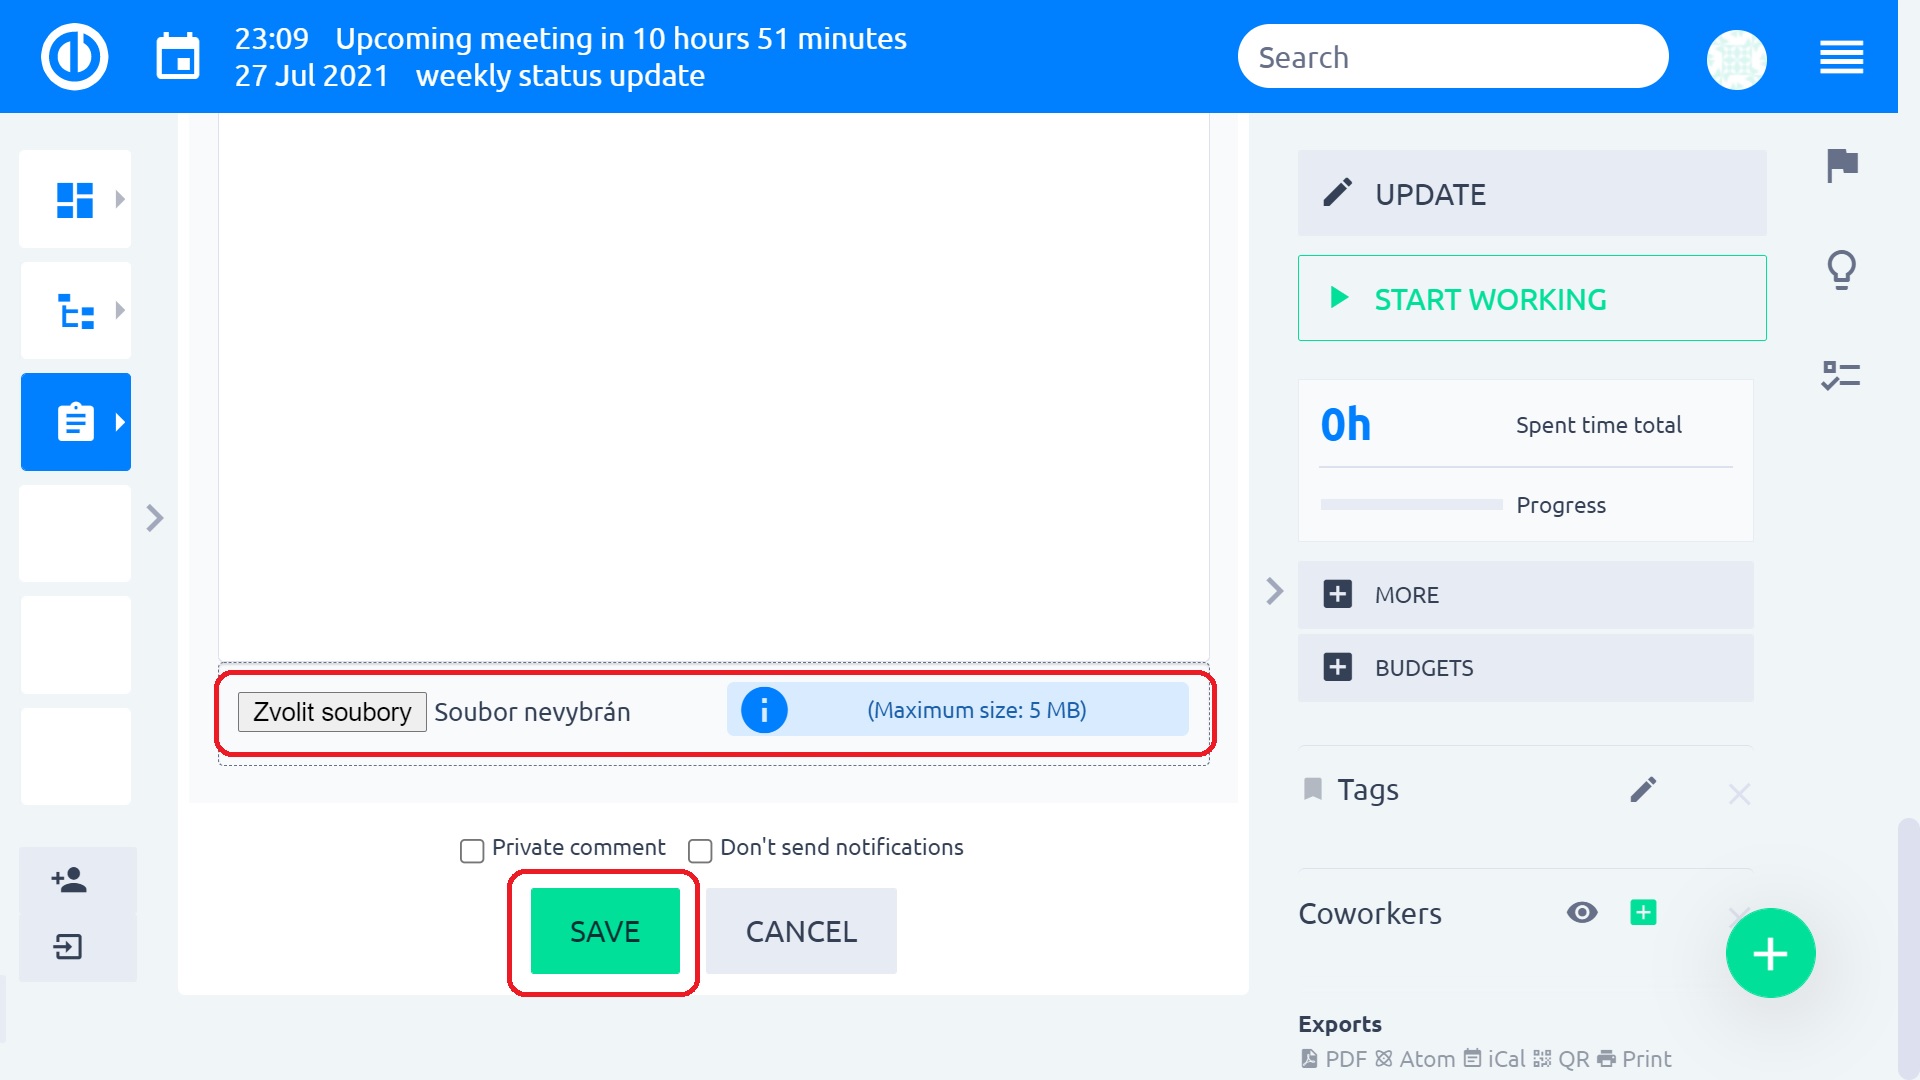
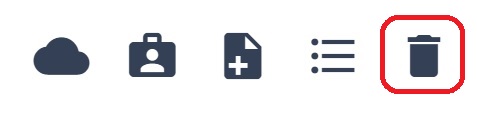
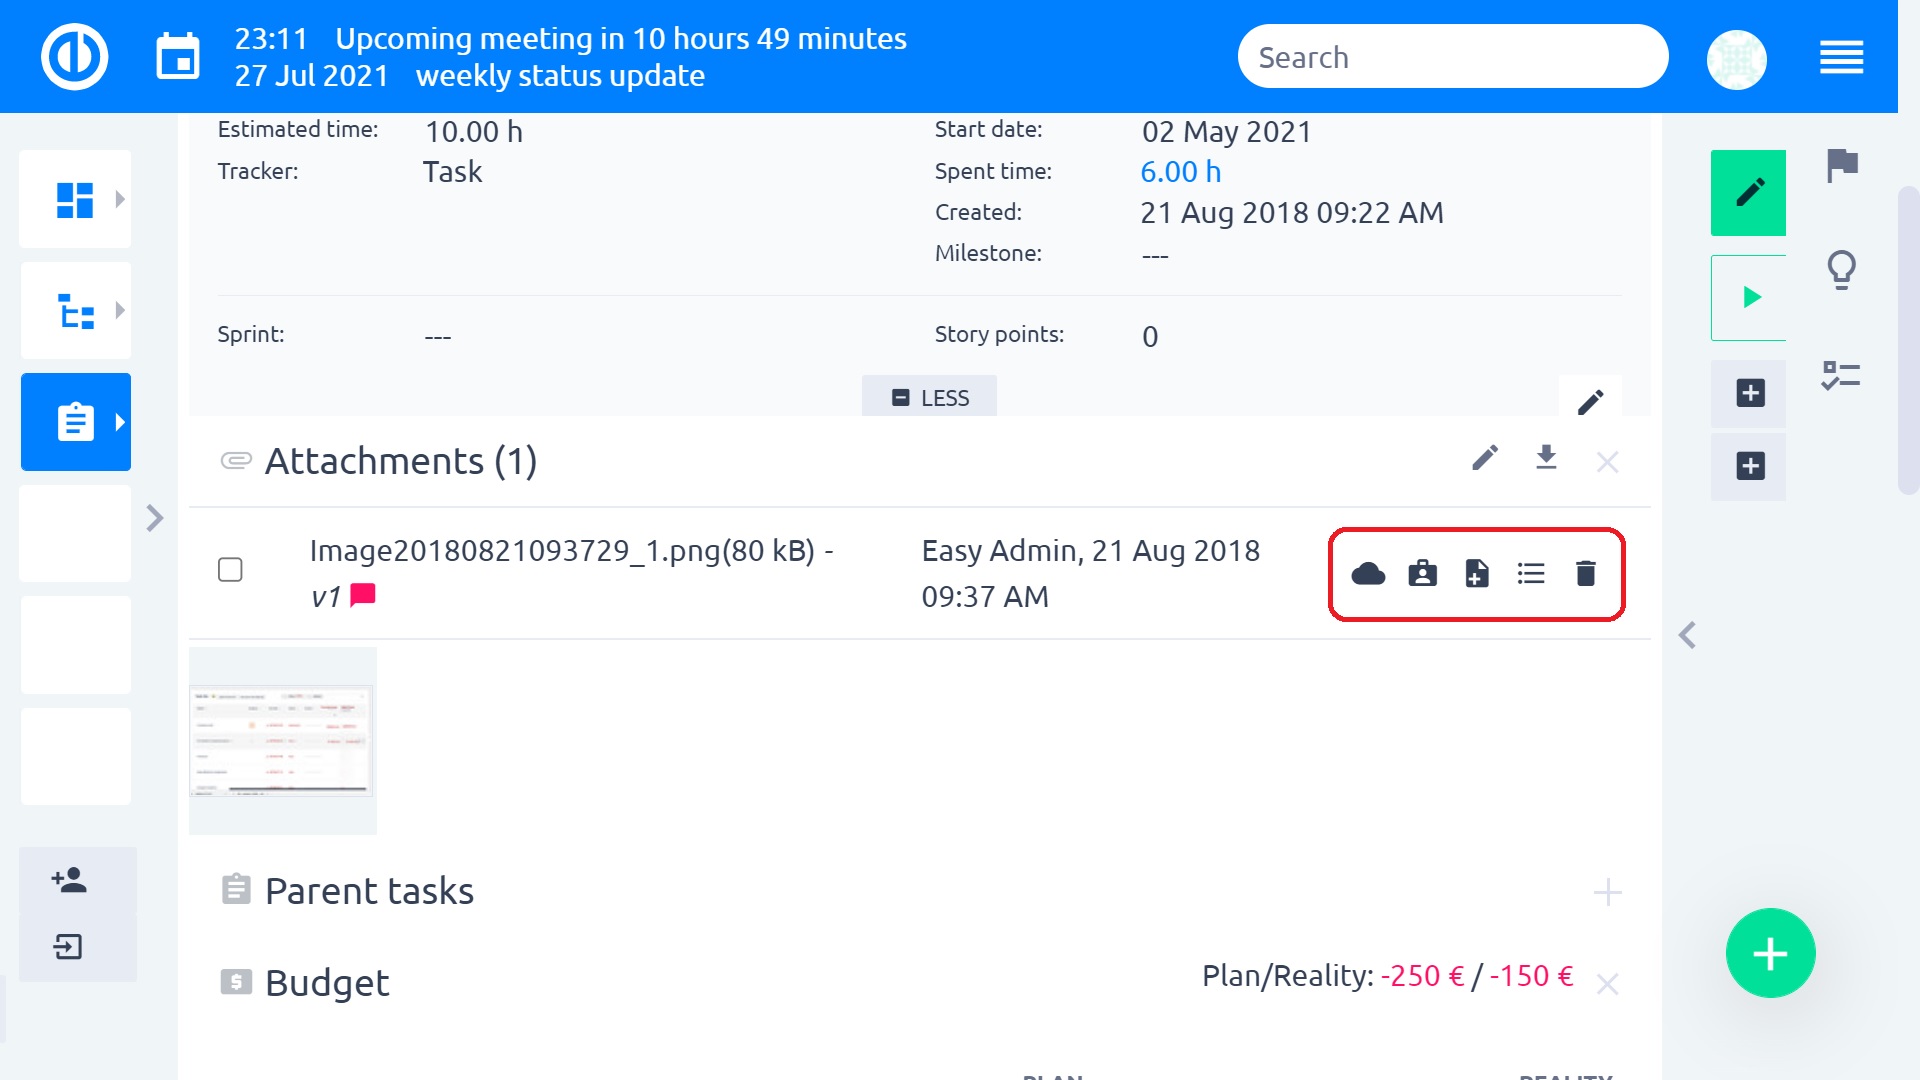
Choose a file you need, click save and you have it in the attachments box on a task as shown below. A mention about added file also appears in the task journal (history). As you can see, on the right side of each attachment, there are 5 different icons which represent the tools (described below).
Documents on projects
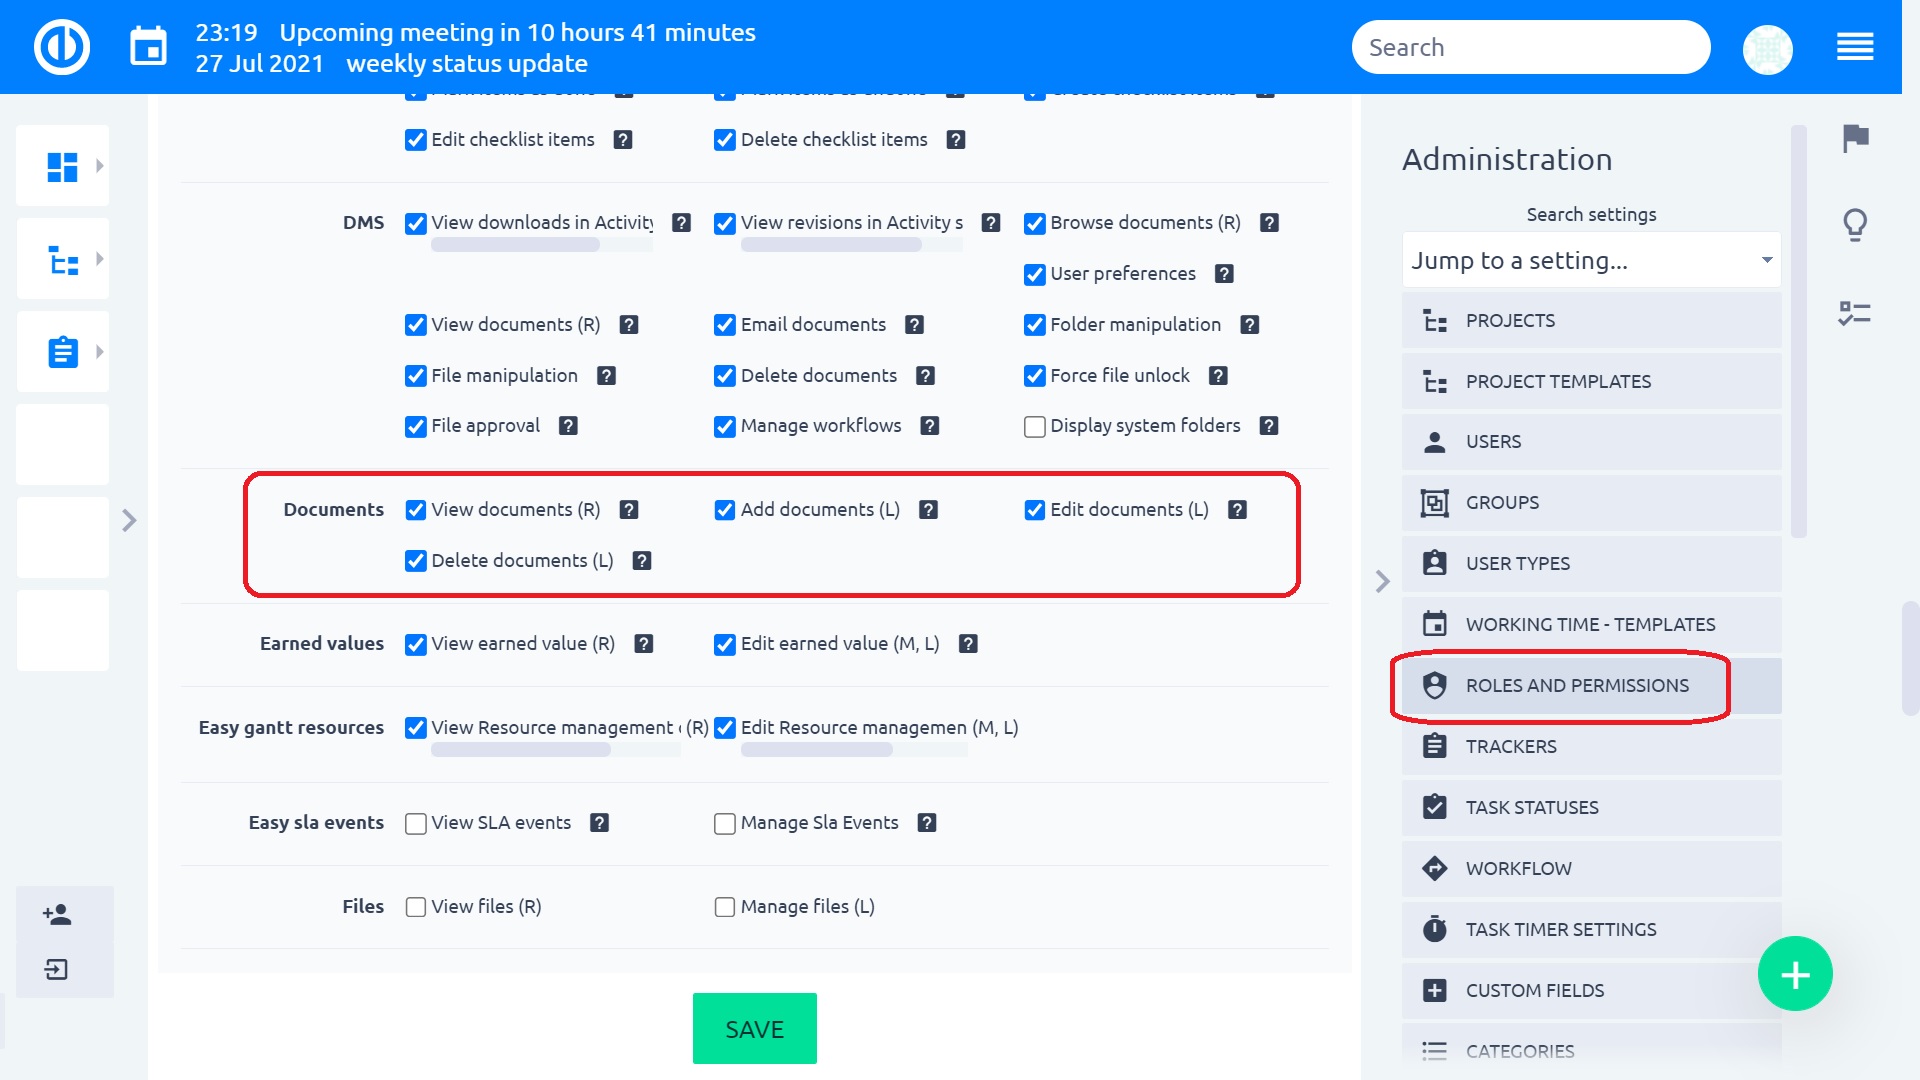
Adding documents to any project is possible via two various modules. The first one - Documents - is free of charge and included in basic project management. The second one - Easy DMS - is an additional plugin that can be purchased via the Client zone. For this purpose, we take a closer look on the first one. Before start using the module, your role must have the necessary project permissions as illustrated below. This can be changed by an administrator in More: Administration: Roles and permissions.
Then you need to activate the Documents module on a particular project. This can be done in project's Settings: Modules: Documents as shown below. This makes the Documents tab appear within project's top menu.

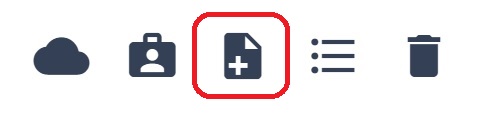
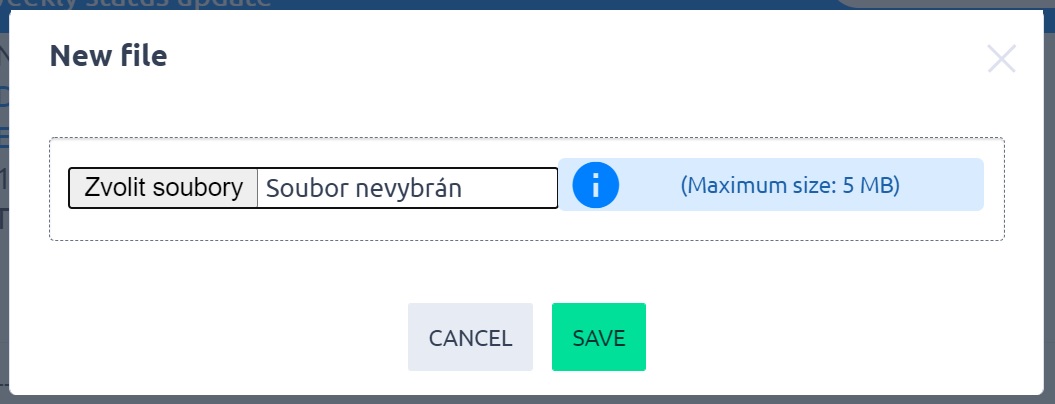
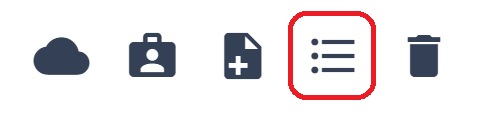
Now, you can click on the Documents tab to open the list of added documents to the project. To add a new document, just click on the respective green button at the top right. The added file appears in the Documentation box. Moreover, there's another section called Document Attachments which represents the list of all attachments of tasks on the particular project. As for the added document, we can also find the set of five tools on the right side from it as shown below. On the contrary, the attachments can be administered from their respective tasks only.

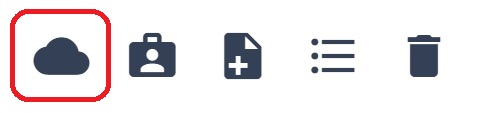
Now, let's a take look what the individual tool icons do.
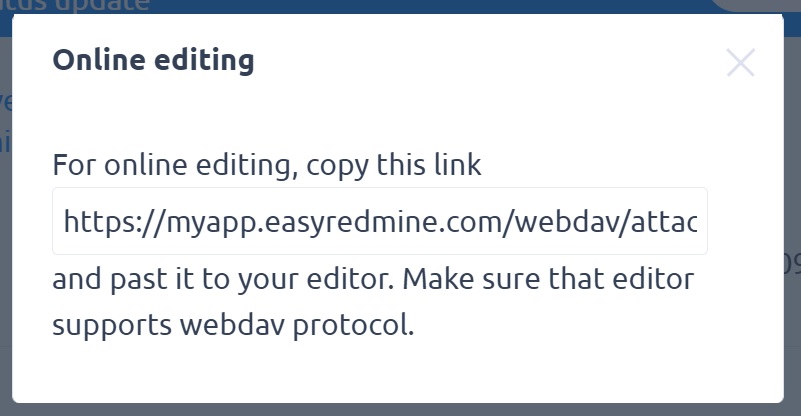
Online editing
The first icon generates the link of the document for WebDAV online editing. When you click on it, a popup window with the link appears.
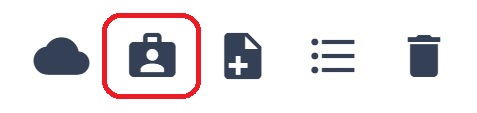
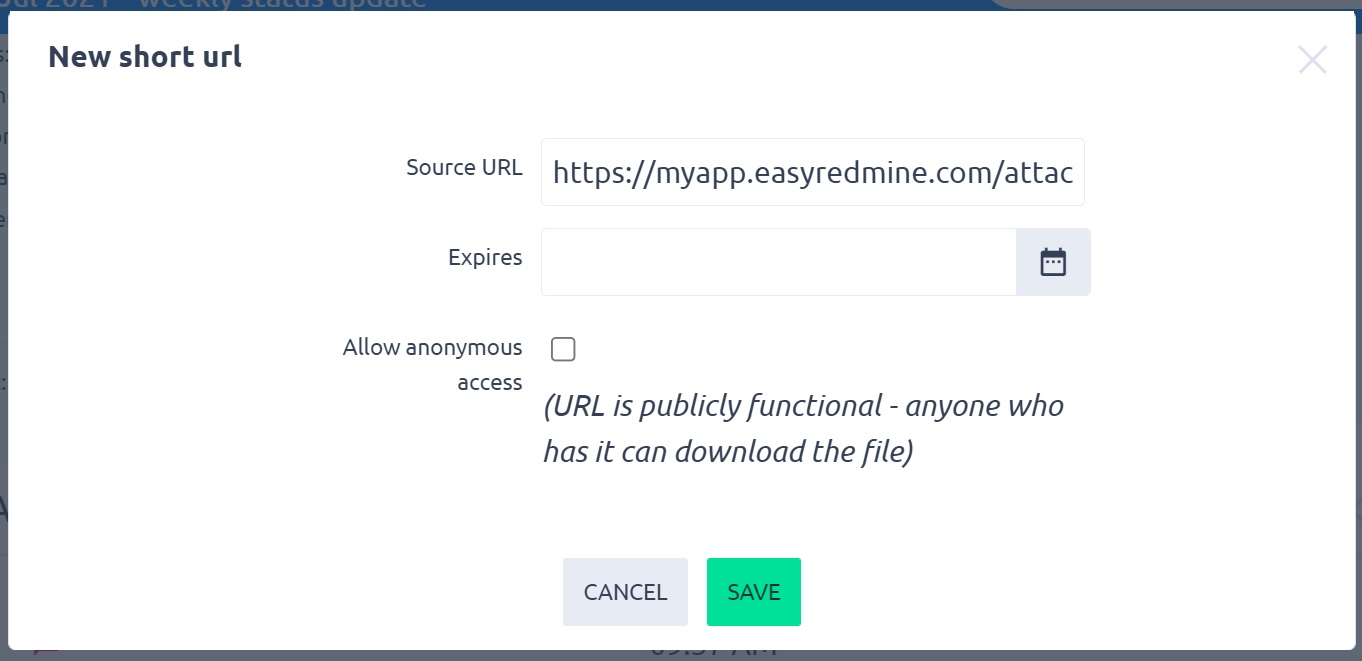
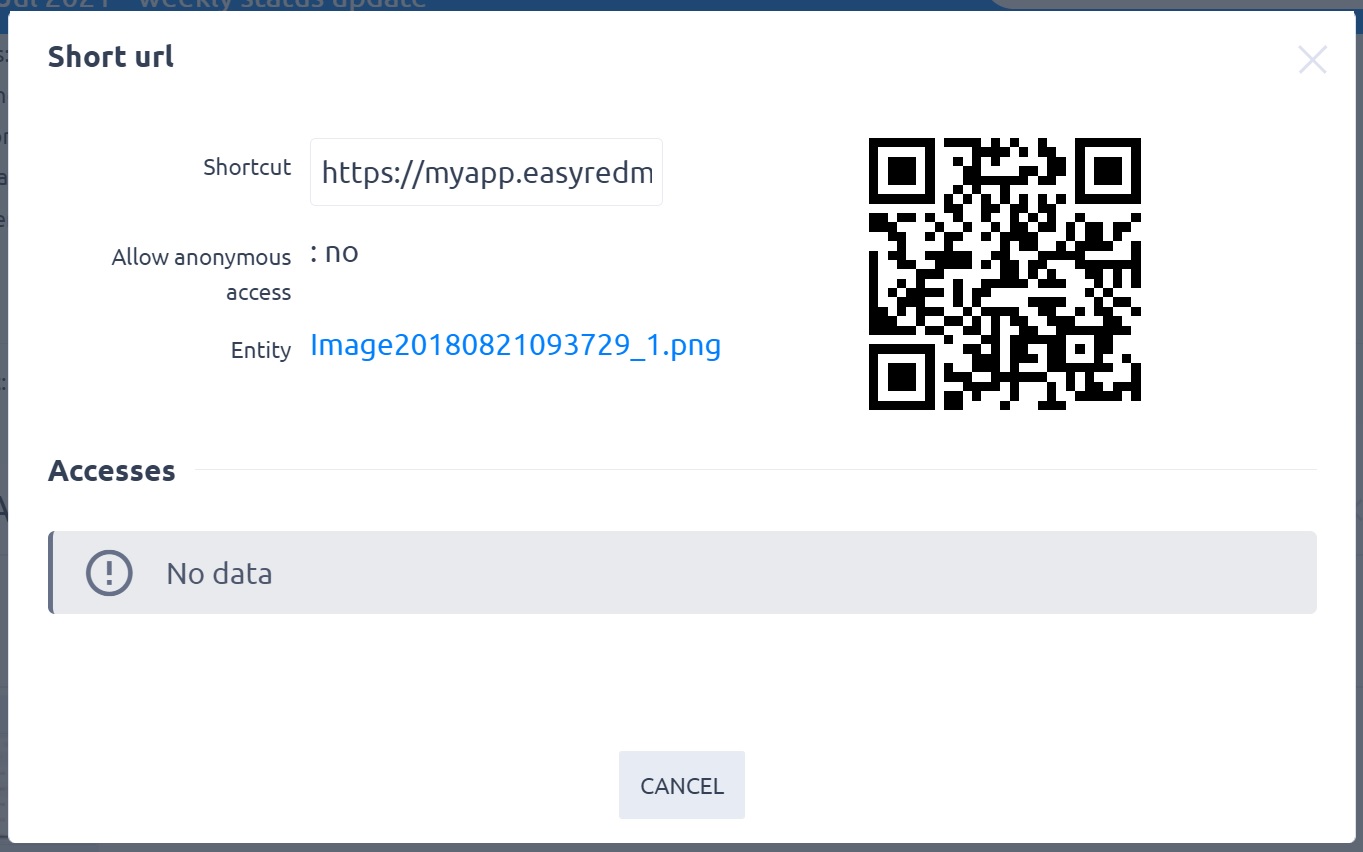
New short URL
This feature generates a short URL and QR code allowing to easily access this particular file by another user who have the link or QR code. You can also set expiration date when you want the URL/QR not to work anymore. Additionally, by ticking the checkbox "Allow external", the person you send this URL/QR doesn't have to be a user nor logged into Easy Redmine.
New version of attachment
This feature lets you update the file. It will be overwritten, but the previous version remains undeleted for possible future recovery.
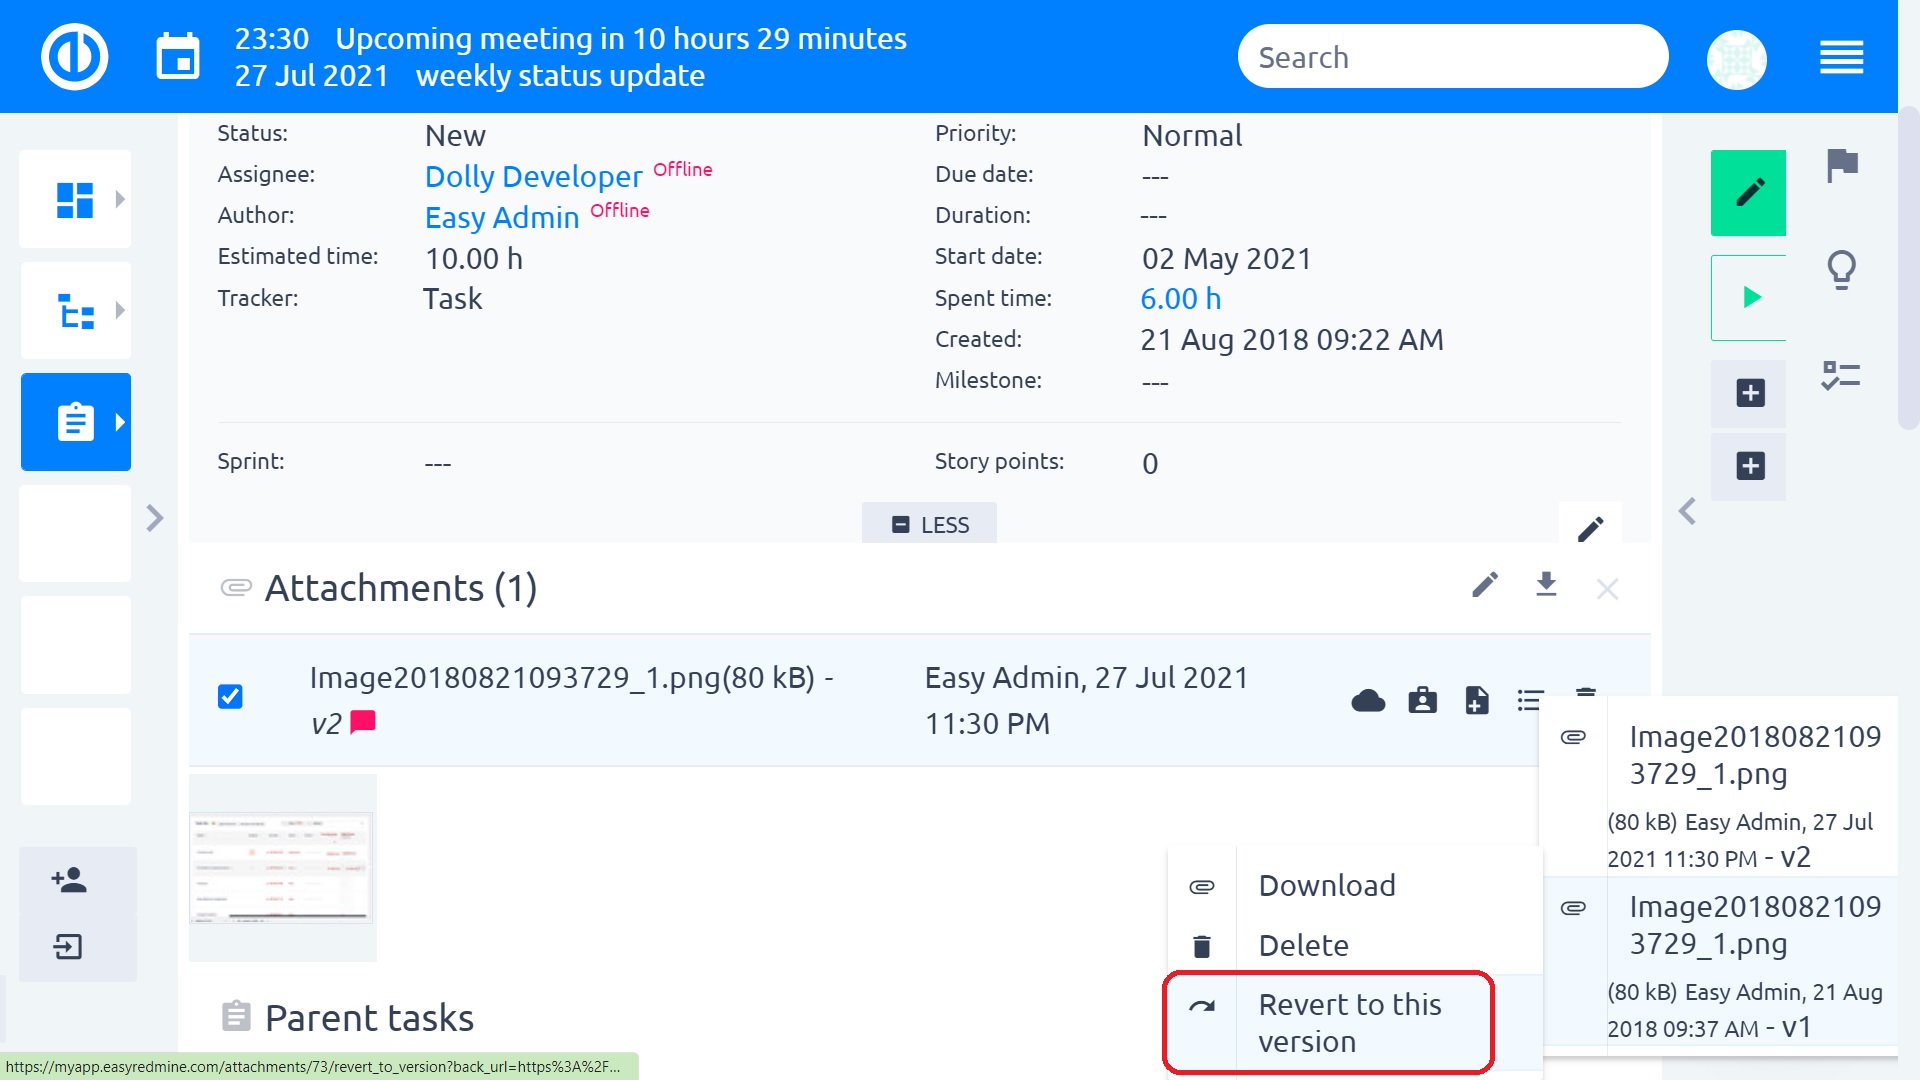
Show version history
Here you can review the previous versions of the file including information about change dates, file sizes, and options to download, delete or revert to a particular version as shown below.
Delete
Use this button to delete the file without the option of later recovery.